Installing Speakers in the Rear Doors of Mercedes-Benz W124 Sedan
admin | 30.11.2025
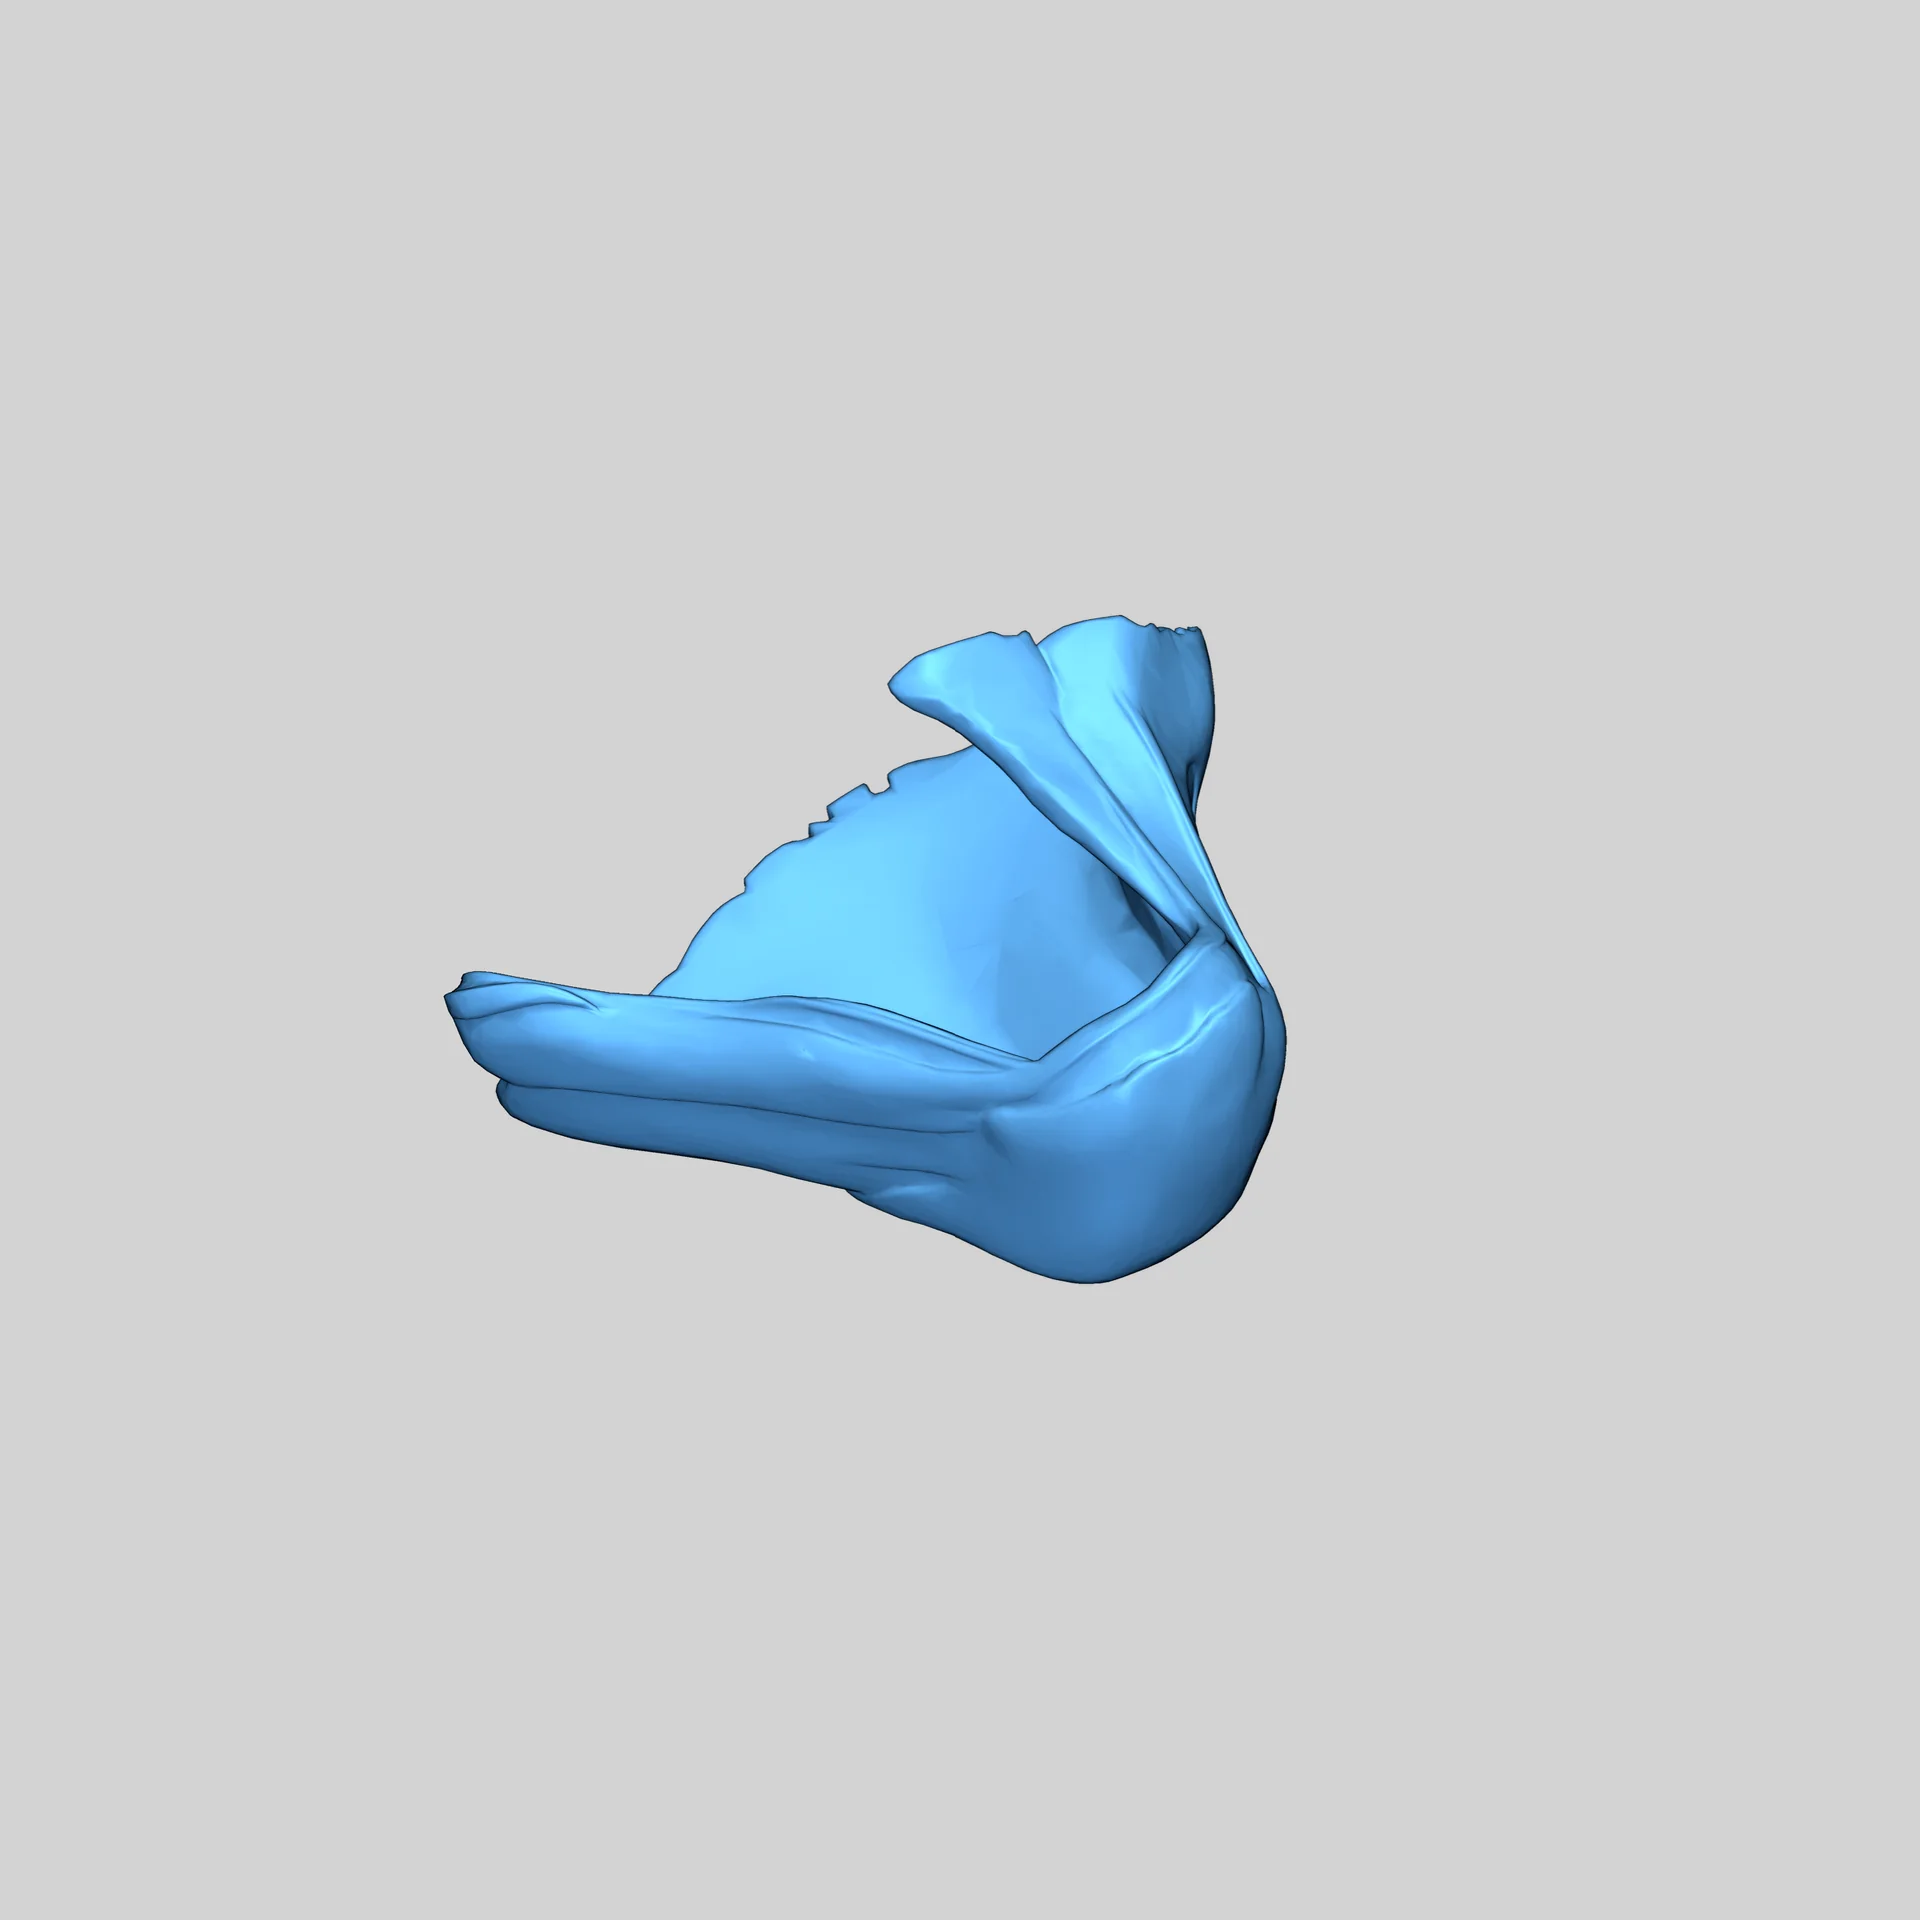
3D Preview
Loading 3D model...
Gallery (2)
Have you ever wanted to install speakers in the rear doors of your Mercedes-Benz W124 Sedan without cutting any holes? Look no further!
Parts needed:
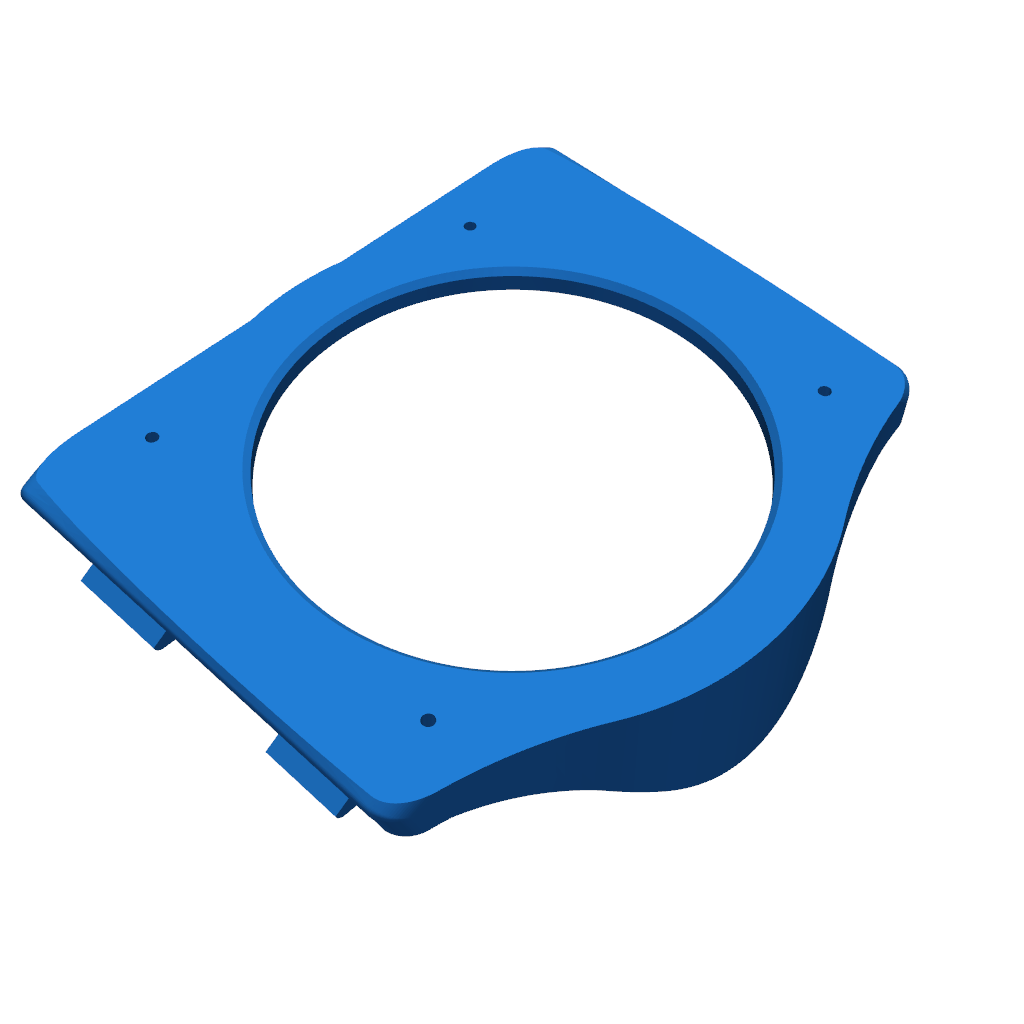
- Two models
- 3D printer
- 2 x 10cm speakers
Printing Instructions:
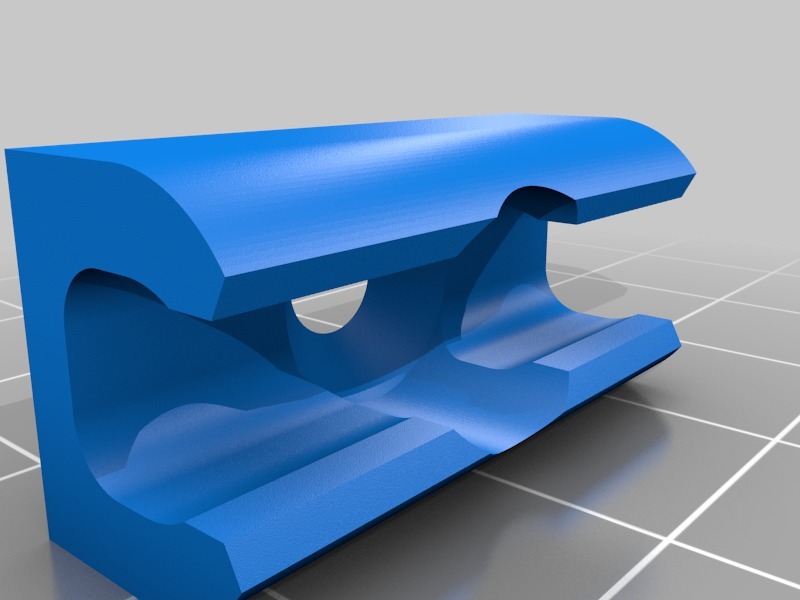
Print two models with the flat side down. For the first, the clips should be facing up; for the second, the side visible in the car should be facing up. The clamps of the first model need to be slightly bent to prevent them from breaking!
Note: The two models included are for the RIGHT side! To print them for the left side, simply flip them before printing.
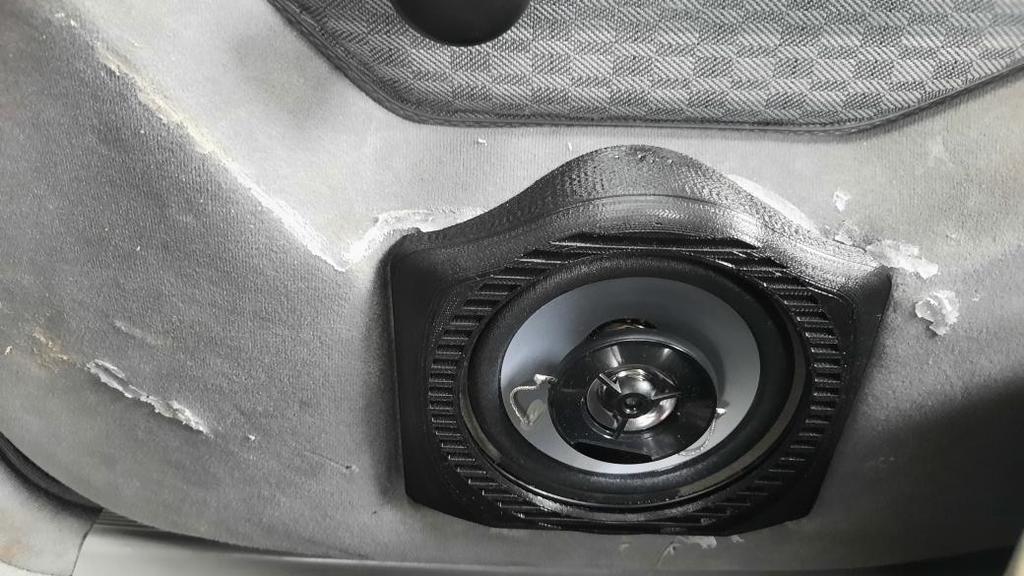
Assembly Instructions:
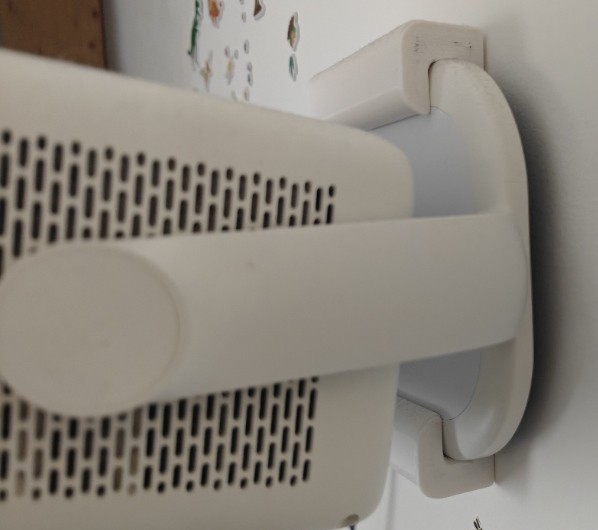
Once both parts are printed, take the 10cm diameter speakers and remove the four screws from the speaker frame. Depending on the speakers you choose (we used the Kenwood KFC-S1066), you may have to remove the two rings at the bottom of the second print. We managed to save them. Place the speaker between the two prints and, with the speaker aligned straight and horizontal, screw the two halves together from the back using the four screw holes provided on the prints, thus sandwiching the speaker between them.
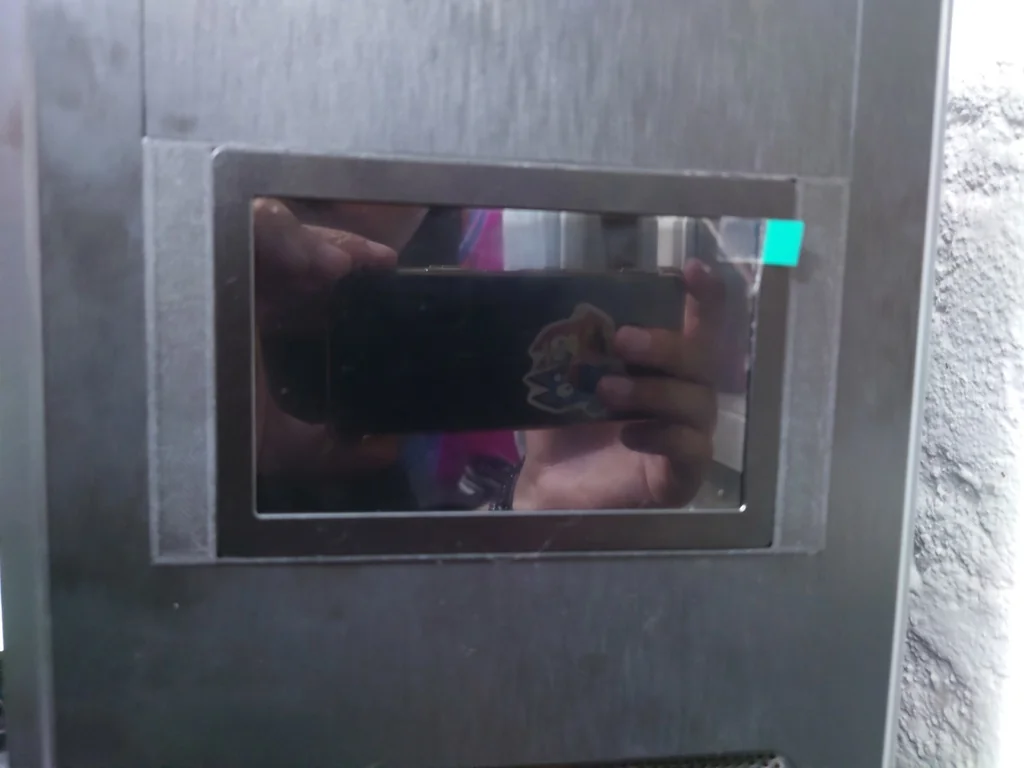
Installation:
First remove the original door card ashtrays by pushing them DOWN while they are open and then pulling them out further. Then, using a screwdriver, carefully remove the black housing that holds the ashtray from the door card. You should now have a hole through which you can see the inside of the door. Run the cables (you may have to remove the door cards to do this) and then connect the speaker. Once connected, tilt it slightly about 15° so that the top of the print (with the rounded corner part on the back) is closer to the door than the bottom. Place the speaker magnet over the edge of the hole, and then from top to bottom, secure the assembly in place using four clamps. That's it! Enjoy the new soundscape of your W124!
Please login to post comments.
Information
- Author: admin
- Date: 30.11.2025
- Category: 3D Printing
- Views: 36
- Downloads: 31
- Likes: 0
- Images: 2
- Files: 2
Download ZIP