M18 Solder Station/Power Supply with Low Voltage Protection
admin | 05.03.2026
3D Preview
Loading 3D model...
Gallery (41)
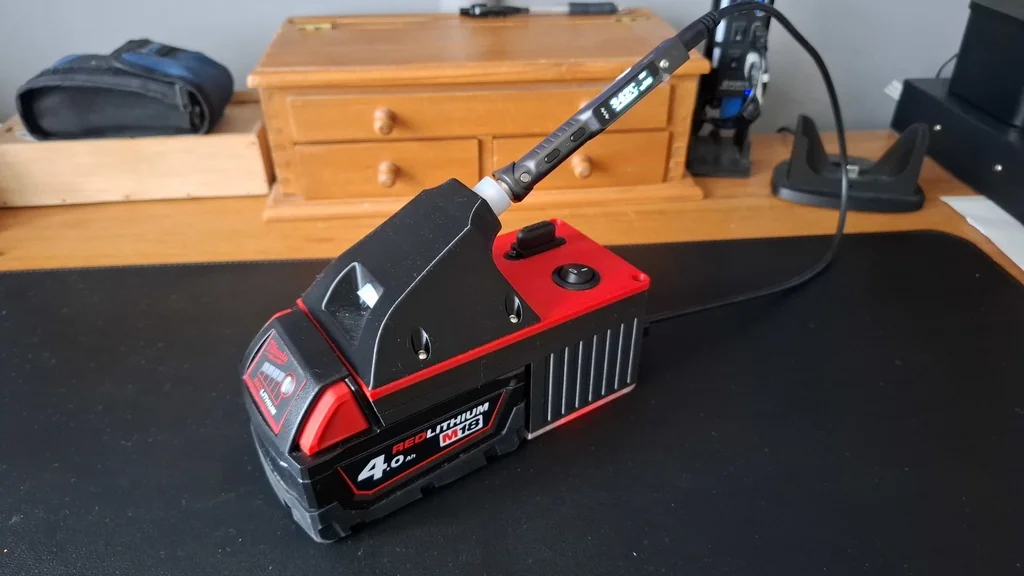


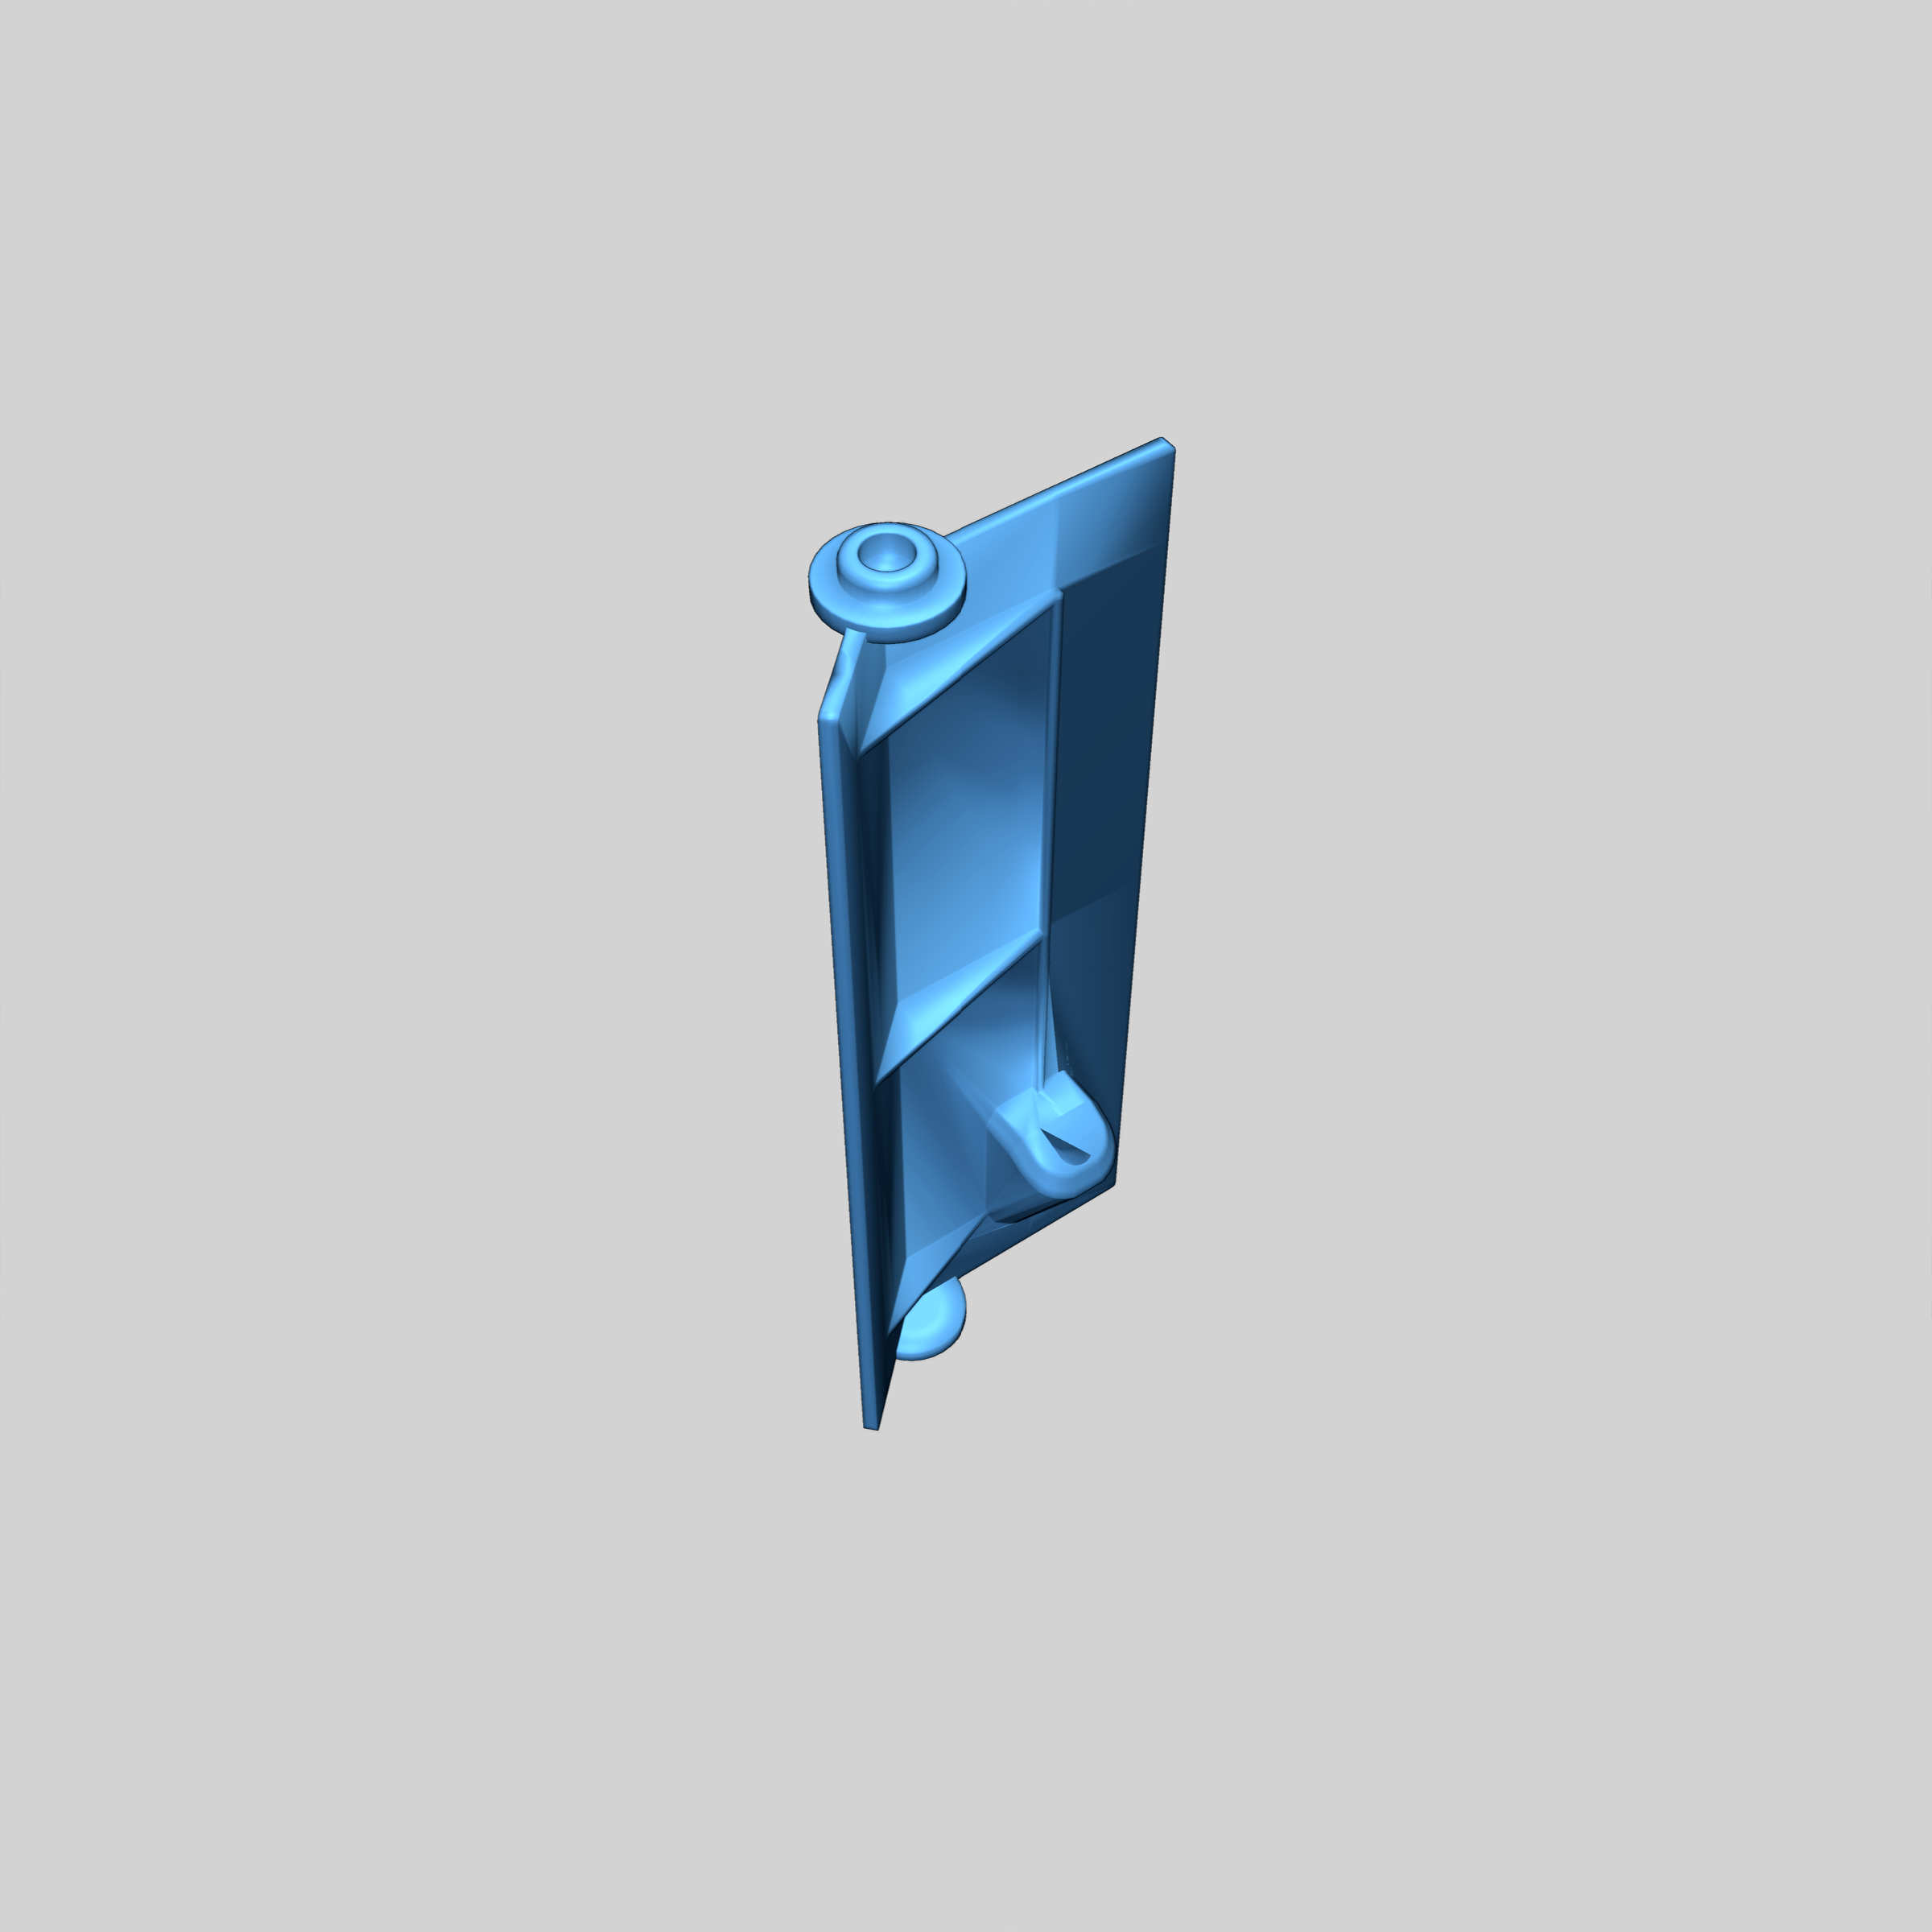
TL:DR My take on the excellent design by Tuxedo ( ) Please note that this project only requires 7 print files. But I've attached multiple file types so you can choose your preference. I recommend using the .step or .3mf files if at all possible. Updated iron stand part now replaces my previous (bad) idea! Firstly, I'll make no bones about it; Tuxedo's original design is A1, 100%, perfect. If you can use his one, then stop messing about reading this, and use that instead!!! His meticulous attention to detail in both instructions and assembly is phenomenal. He's an absolute GOAT in both design and execution, and I tip my hat to him. If you do make my version, I recommend you use his project guide as a constant reference - and make sure you leave him a like at the same time. Unfortunately I needed to use an XT60 connector for my iron's power lead. This meant changes were necessary, and that became my first hurdle: I haven't had much success so far in importing designs into FreeCad. That's quite obviously a "me" issue, but it meant I had to draft a complete design from scratch. It's not a copy as such because it uses nothing taken directly from Tuxedo's design. But it's still only a "remix" in my book though, because I've basically created a clone variation of his initial idea. One of the first things I noticed was that Tuxedo's design wasn't quite the full width of the battery casing. I don't know if he had a reason for this but, for purely personal aesthetic reasons, I decided to make mine full width. The second thing was to figure out where I was going to put the XT60 connector. These extend quite a way behind the panel, and I needed to make the space for this. Tuxedo's model is designed to work with both 2Ah and 4Ah batteries. But since I only own 4Ah batteries, I could use the full height of the 4Ah battery to extend my electronics box and gain the extra space I needed. For reference I used an Amass XT60E-F Panel Mount, and have included a picture of the dimensions I used for the rebate in the box wall so it sits flush with the surface. Other brands may have slightly different dimensions to this, so it's here for comparison purposes. I didn't have any M3 heat-set inserts. But since I couldn't see myself repeatedly stripping and reassembling it in the future, I went low-tech by using pilot holes that I could self-tap my M3 screws into. I had to experiment for the best compromise on hole size but I'm happy with the results; the screws hold nicely. I also didn't have any male crimp connectors available for battery contacts. What I DID have was an unused metal mounting bracket from a car horn upgrade a few years ago. It was around 0.8mm thick, and was perfect for the job. I cut two pieces of approximately 22mm X 13mm, rounding-off one corner to prevent potential battery damage. I also revised the contact block to accommodate the new contacts. I had to take extra care marking out the contact plates for soldering, but it was worth the effort. The XT60 socket had to be placed to one side of the box to avoid a protruding coil on the XH-M609 module. This gave me an idea that turned out to be a bit of a fail: In my pictures you'll see a small transparent circle to the right of the XT60 power connector. Since the low-voltage module gives off a lot of light from its LED display I hoped it would be enough to act as a power indicator. But I was wrong! In reality, the reflected light from the module isn't anywhere near enough. It might just have worked out if it wasn't for that pesky coil on the XH-M609 blocking most of the light. So it only kinda, sorta (but not really) lit up a bit. Nowhere near enough though! I suppose I could have added a bespoke LED and resistor instead but, long story short; I simply deleted the window from the final design files as unnecessary. Disappointing, but that's life. I originally used a red lower cover, and noticed that the light from the LED illuminated it. So I printed one using translucent filament instead as a substitute for the failed indicator window idea. You can see it lit up in the first two pictures above. Frankly, it isn't much better, but you can at least see it. So try it for yourself if you like. Or just print it in ordinary opaque filament if it's not your cup of tea. One minor change was simply adding the option to have the power switch either way around. I understand the logic of Tuxedo's orientation: Knocking the switch is far more likely to turn it off than on. But I just wanted
-
M18_Solder_Station_V4a-Latch_Plate__Box_Perimeter_Part.3mfDownload
-
M18_Solder_Station_V4a-Latch_Plate__Box_Perimeter_Part.stepDownload
-
M18_Solder_Station_V4a-Latch_Plate__Box_Perimeter_Part.stlDownload
-
M18_Solder_Station_V4a-Top_Cover_Part.3mfDownload
-
M18_Solder_Station_V4a-Top_Cover_Part.stepDownload
-
M18_Solder_Station_V4a-Top_Cover_Part.stlDownload
-
M18_Solder_Station_V4a-Lower_Cover_Part_-_Transparent.3mfDownload
-
M18_Solder_Station_V4a-Lower_Cover_Part.stepDownload
-
M18_Solder_Station_V4a-Lower_Cover_Part_-_Transparent.stlDownload
-
M18_Solder_Station_V4d-Iron_Stand_Part.3mfDownload
-
M18_Solder_Station_V4d-Iron_Stand_Part.stepDownload
-
M18_Solder_Station_V4d-Iron_Stand_Part.stlDownload
-
M18_Solder_Station_V4a-Contact_Cover_Part.3mfDownload
-
M18_Solder_Station_V4a-Contact_Cover_Part.stepDownload
-
M18_Solder_Station_V4a-Contact_Cover_Part.stlDownload
-
M18_Solder_Station_V4a-Hole_Packers_Part.stlDownload
-
M18_Solder_Station_V4a-Hole_Packers_Part.3mfDownload
-
M18_Solder_Station_V4a-Hole_Packers_Part.stepDownload
-
M18_Solder_Station_V4a-Insulation_Plate_Part.3mfDownload
-
M18_Solder_Station_V4a-Insulation_Plate_Part.stepDownload
-
M18_Solder_Station_V4a-Insulation_Plate_Part.stlDownload
-
M18_Solder_Station_V4d.FCStdDownload
Please login to post comments.
Information
- Author: admin
- Date: 05.03.2026
- Category: Auto & Moto
- Views: 102
- Downloads: 449
- Likes: 0
- Images: 41
- Files: 22
Download ZIP