Flashforge AD5X exhaust fan
admin | 07.12.2025
3D Preview
Loading 3D model...
Gallery (12)
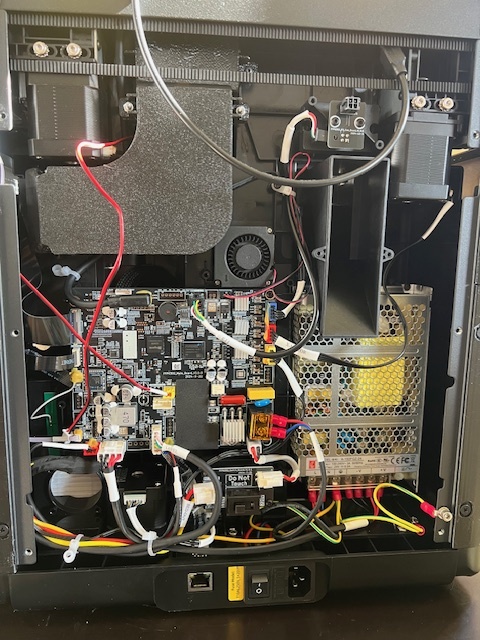
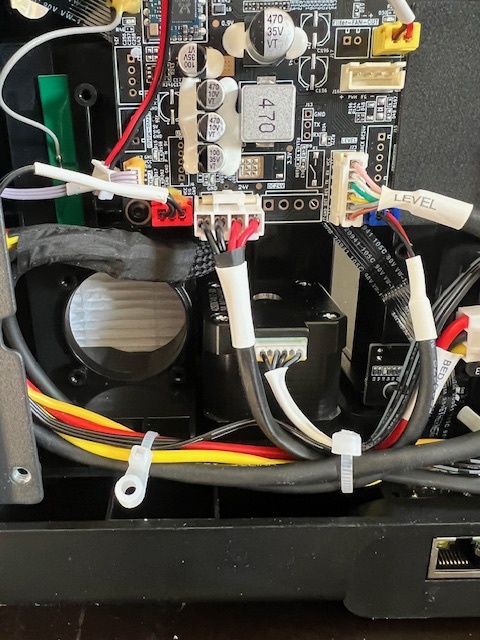
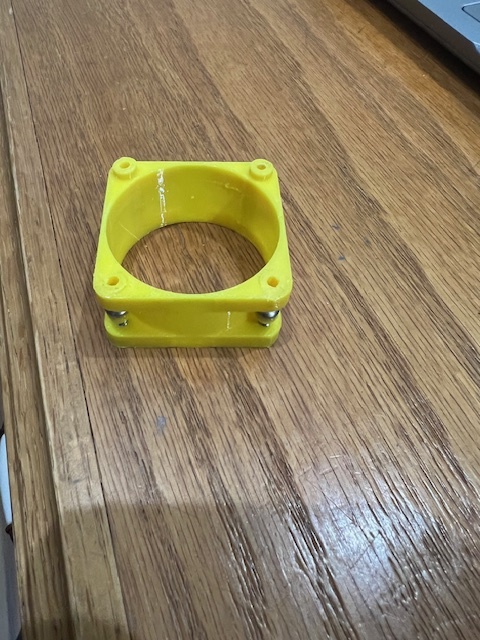
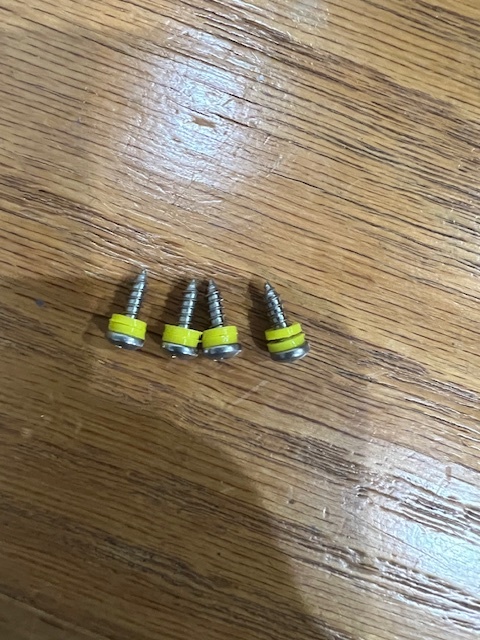
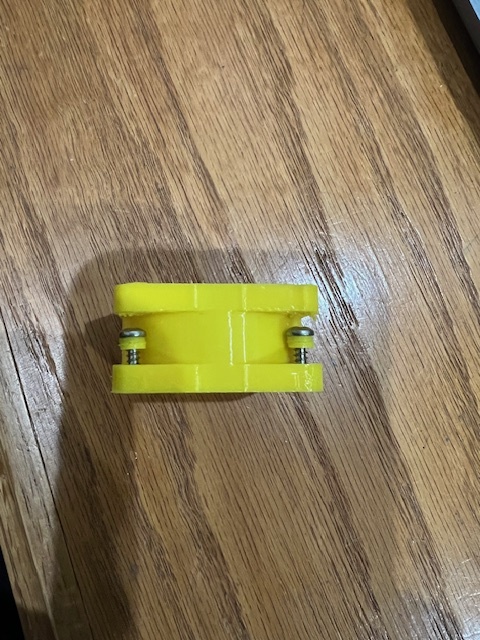
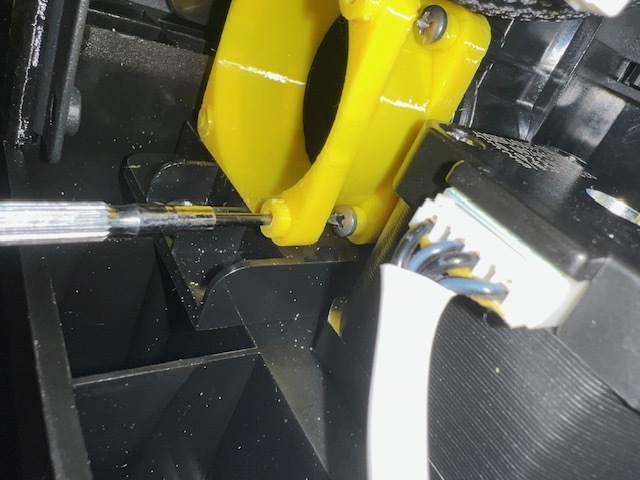
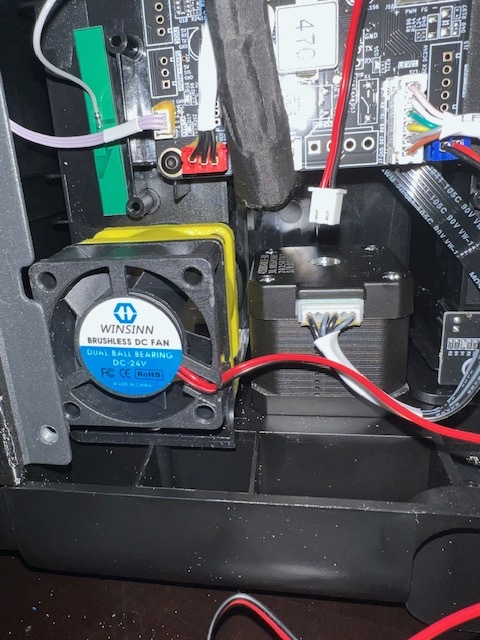
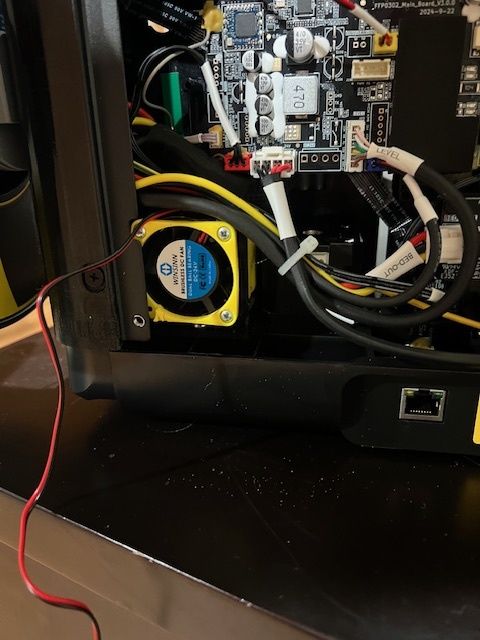
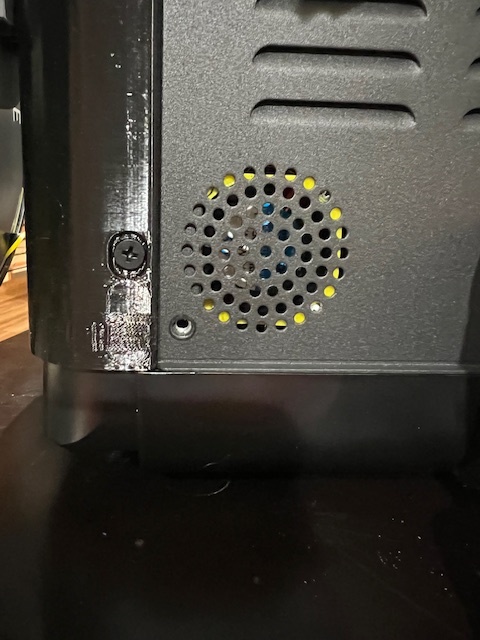
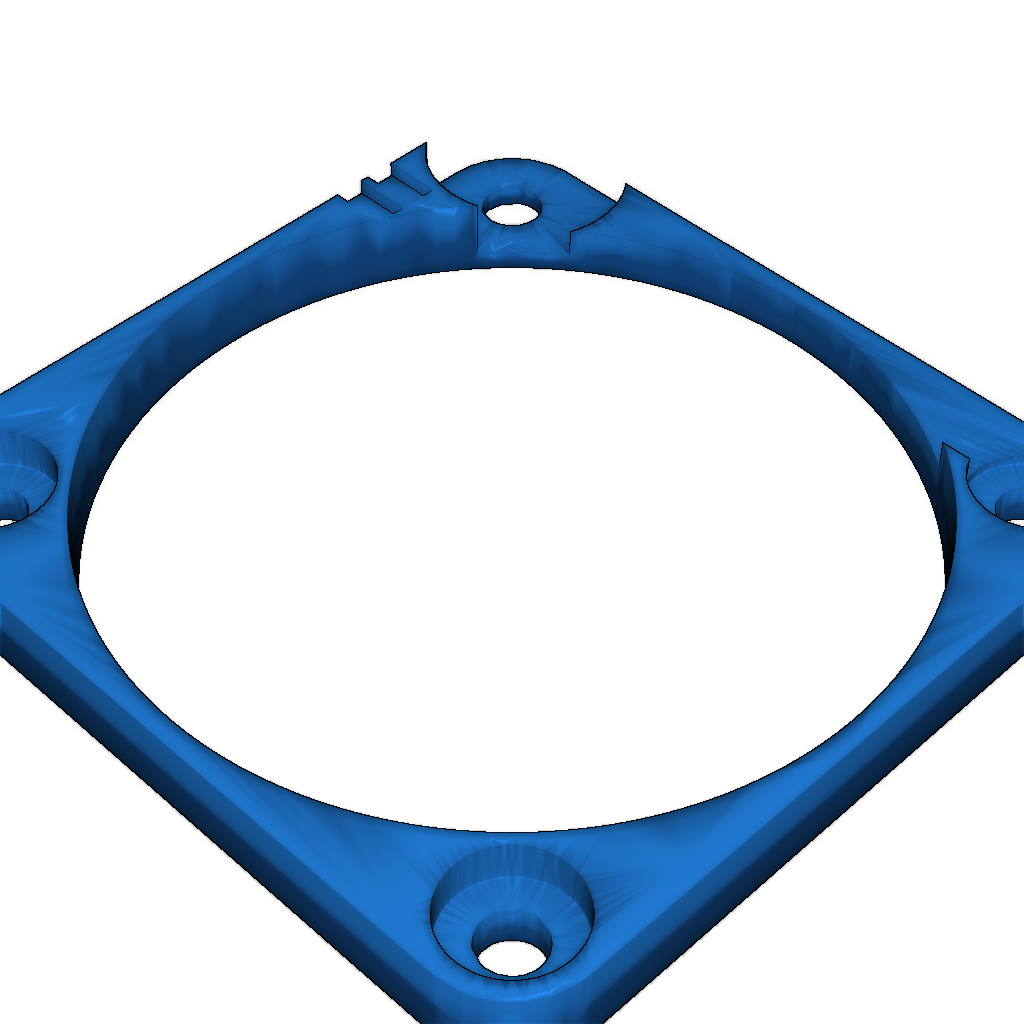
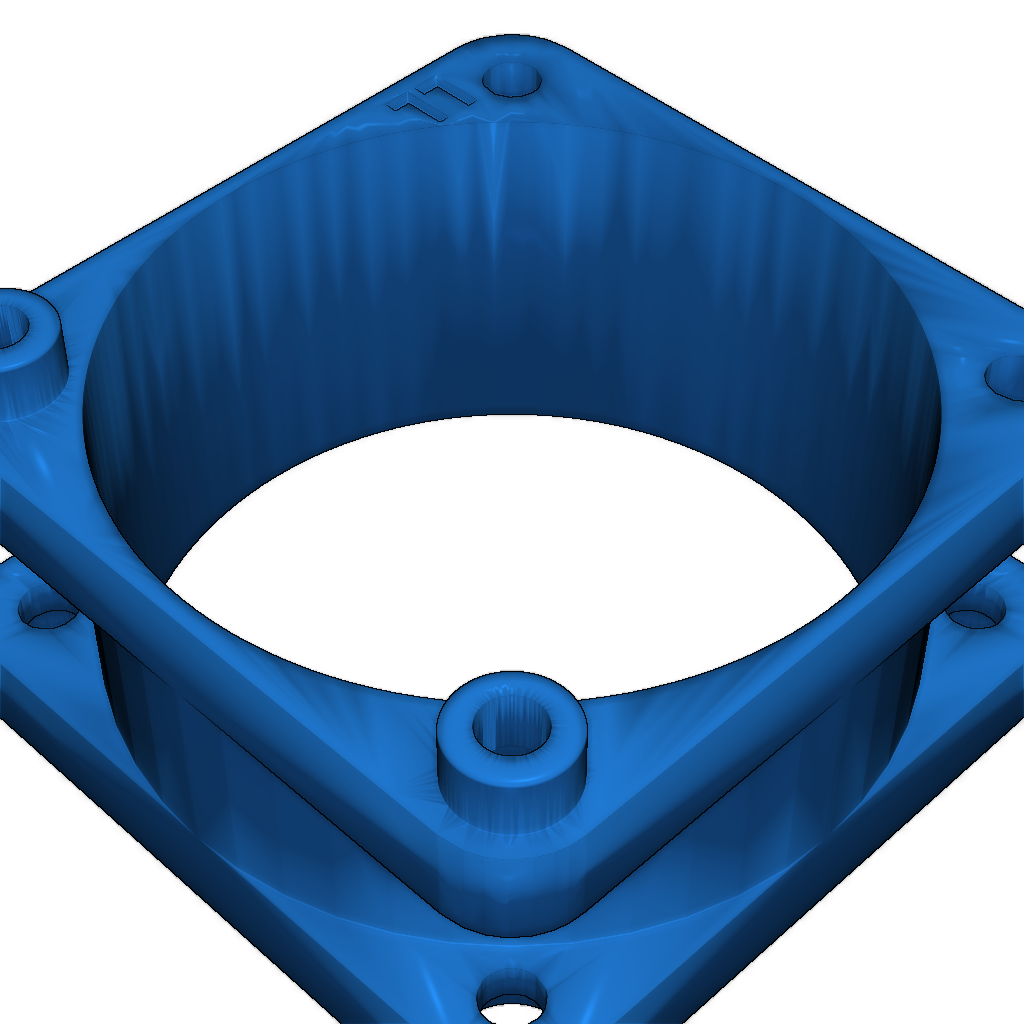

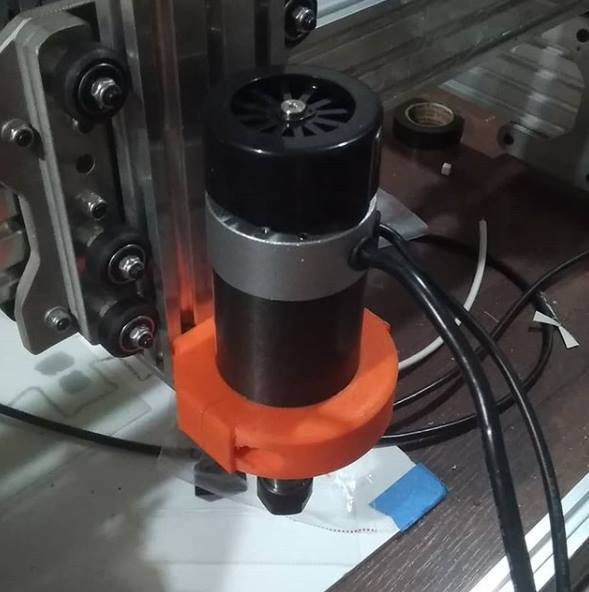
I wanted to have an exhaust fan for my AD5X which ran through a carbon filter for printing ASA/ABS. This design screws into the case behind the filter housing. Then you mount the fan, and then a cover over the fan so it is flush with the back panel. This ensures all the hot air goes through the back panel and not back to the motherboard. I used #4 x 3/8" screws to attach the duct to the printer because they had the perfect diameter (2.8mm) to screw into the existing holes without cracking them. The screws were slightly long, so I included a washer (1mm thick). I used 2 washers per screw where it screws into the printer case. You have to cut the 2 zip ties to make room to work. I recommend putting in all four screws in the duct enough to hold them in place (see picture), and then using a jewelers screw driver to go through the outer hole to get to the screws. This is the only way to screw the duct to the case. The "LL" on the parts mean "lower left". You MUST orient the parts per this marking. Once the duct is screwed into the printer housing, you can secure the fan and cover with #4 x 1" screws. You can only get 3 screws into the duct, but that's fine. I ran the wires for the exhaust fan and the recirculation fan through the back panel and powered them with an external 24v power supply. Due to the temperatures, I recommend doing this in PETG or ASA/ABS. Настройки печати и инструкции
Please login to post comments.
Information
- Author: admin
- Date: 07.12.2025
- Category: Other
- Views: 65
- Downloads: 41
- Likes: 0
- Images: 12
- Files: 3
Download ZIP